


How to Plan a Virtual Tour of Your Renovated Home
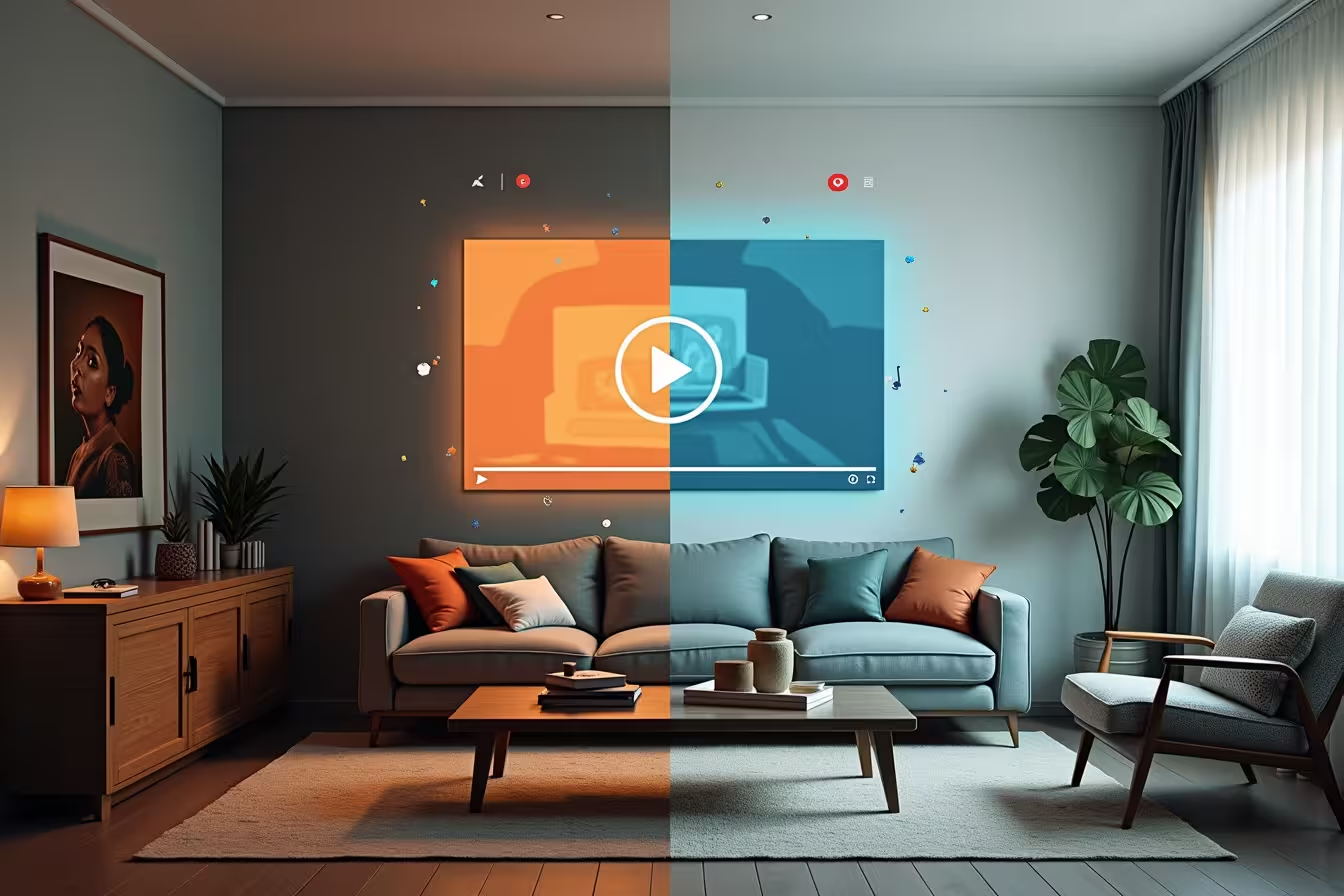
Are you excited to show off your newly renovated home but can't have everyone visit in person? A virtual home tour is the perfect solution! In this comprehensive guide, we'll walk you through the process of planning and creating a stunning virtual tour of your renovated home. Whether you're looking to impress potential buyers, share your hard work with friends and family, or participate in a home renovation competition, this step-by-step home renovation planning guide will help you create a memorable virtual home renovation tour.
1. Setting the Objective
Before diving into the technical aspects of creating a virtual tour, it's crucial to define your objectives. Ask yourself: What's the primary purpose of this virtual home tour? Are you showcasing your renovated home for potential buyers, sharing your accomplishments with loved ones, or entering a home renovation contest? Your objective will guide every decision you make throughout the process, from the platform you choose to the way you present your renovated spaces.
For example, if you're creating a virtual tour for potential buyers, you'll want to focus on highlighting the practical features and improvements that add value to your home. On the other hand, if you're sharing with friends and family, you might include more personal touches and stories behind your renovation choices.
2. Choosing the Right Platform
Once you've established your objective, the next step in planning your virtual tour is selecting the right platform. There are numerous options available, each with its own unique features and benefits. Some popular choices for creating a virtual home tour include:
- YouTube: Great for longer, detailed tours with narration
- Facebook: Ideal for sharing with friends and family
- Instagram: Perfect for short, visually appealing tours
- Professional platforms like Matterport: Offers advanced features for creating immersive 3D tours
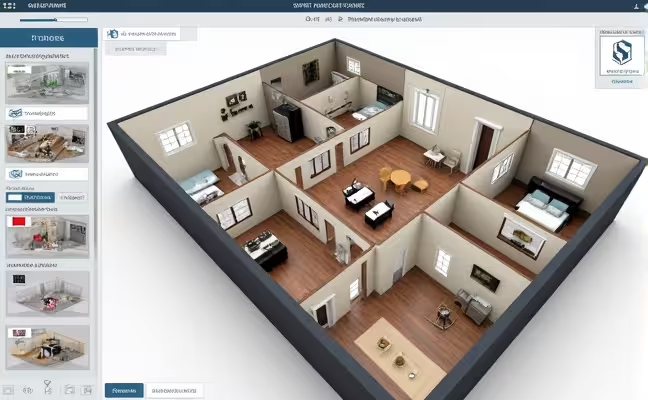
When choosing a platform, consider your technical skills, budget, and the preferences of your target audience. For instance, if you're targeting younger, tech-savvy buyers, a professional 3D tour on Matterport might be the way to go. However, if you're sharing with older family members, a simple YouTube video might be more accessible.
3. Preparing Your Home for the Virtual Tour
Now that you've chosen your platform, it's time to get your renovated home ready for its close-up. This step is crucial in creating a polished and professional-looking virtual home tour. Here's what you need to do:
Clean and Declutter
Start by giving your home a thorough cleaning. Dust, vacuum, and mop every surface. Pay special attention to areas that might be overlooked during regular cleaning, such as baseboards, light fixtures, and window sills. Remember, the camera will pick up details that might not be noticeable to the naked eye.
Next, declutter each room. Remove personal items, excessive decor, and anything that might distract viewers from the renovated features you want to highlight. The goal is to create a clean, spacious look that allows the renovations to shine.
Stage Your Rooms
Once your home is clean and decluttered, it's time to stage each room. This doesn't mean you need to completely redecorate, but you should arrange furniture and decor in a way that showcases the best features of each space. For example, if you've installed new hardwood floors, make sure they're visible by pulling furniture away from the walls slightly.
Optimize Lighting
Lighting can make or break your virtual home tour. Natural light is always best, so plan to film during the day and open all curtains and blinds. If certain areas of your home are dark, consider adding supplemental lighting to ensure every renovation detail is visible.
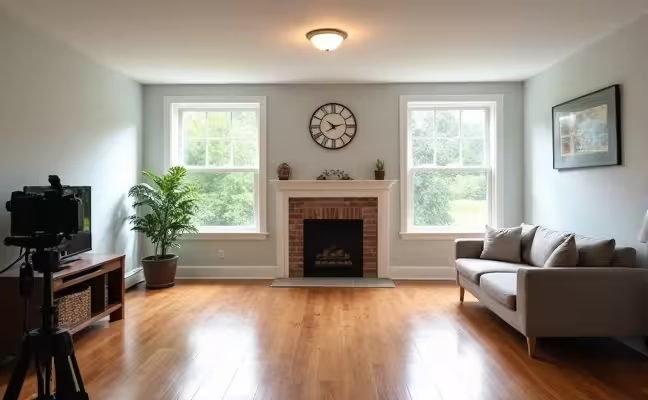
By taking the time to properly prepare your home, you're setting the stage for a stunning virtual tour that will truly showcase your renovation efforts.
4. Mapping Your Virtual Home Tour
A well-planned virtual tour should flow logically, just like an in-person tour would. To create this flow, you need to map out your tour before you start filming. Here's how to plan a virtual tour that makes sense:
Start at the Entrance
Begin your tour where a real visitor would: at the front door. This gives viewers a sense of arrival and helps them orient themselves within the space. If you've renovated your entryway or front porch, this is a great opportunity to highlight those improvements right off the bat.
Move Through Main Rooms
After the entrance, guide your viewers through the main living areas of your home. This typically includes the living room, dining room, and kitchen. These are often the spaces where the most impactful renovations take place, so you'll want to spend ample time showcasing the improvements in these areas.
Explore Secondary Rooms
Once you've covered the main living areas, move on to secondary spaces like bedrooms, bathrooms, and home offices. Even if these rooms didn't undergo major renovations, it's still important to include them for a complete picture of your home.
Highlight Renovation Improvements
As you plan your route, make note of all the renovation improvements you want to highlight. This could include:
- Newly installed flooring
- Updated kitchen appliances
- Freshly painted walls
- Renovated bathrooms
- Added or updated lighting fixtures
- New windows or doors
- Outdoor improvements like landscaping or a new deck
For each improvement, plan to explain why the change was made and how it benefits the home. This information adds value to your virtual home renovation tour and helps viewers understand the thought process behind your renovation choices.
5. Filming Your Virtual Home Tour
With your home prepared and your tour mapped out, it's time to start filming. Here are some tips to ensure you capture high-quality footage for your virtual home tour:
Use a High-Quality Camera
While many smartphones now have excellent cameras, consider using a dedicated digital camera or video camera for the best results. This will give you more control over settings like focus and exposure, resulting in clearer, more professional-looking footage.
Keep the Camera Stable
Shaky footage can be distracting and even nauseating for viewers. Use a tripod or stabilizer to keep your camera steady as you move through the house. If you're using a smartphone, consider investing in a gimbal for smooth, professional-looking shots.
Move Slowly
When filming, resist the urge to move quickly through each room. Slow, steady movements allow viewers to take in all the details of your renovated spaces. This is especially important when showcasing specific renovation improvements.
Capture Multiple Angles
Don't just film from one perspective. Move around each room to capture different angles. This gives viewers a more comprehensive understanding of the space and allows you to highlight various aspects of your renovations.
Pay Attention to Lighting
As you film, be aware of how light is affecting your shots. Avoid filming directly into bright windows, which can create silhouettes. Instead, try to position yourself so that natural light illuminates the spaces you're showcasing.
6. Adding Narration to Your Virtual Tour
A voice-over narration can significantly enhance your virtual home tour, making it more engaging and informative. Here's how to effectively incorporate narration:
Script Your Narration
Before recording, write a script for your narration. This ensures you cover all the important points about your renovations without rambling or forgetting key details. Your script should:
- Introduce each room or area
- Highlight specific renovation improvements
- Explain the reasons behind renovation choices
- Describe how the renovations have improved the home
Record Clear Audio
Use a good quality microphone to record your narration. This could be a standalone mic or one built into your camera or smartphone. Find a quiet place to record to minimize background noise.
Time Your Narration
When recording, make sure your narration matches the pacing of your video. You don't want your words to run ahead of or lag behind the visuals.
7. Editing Your Virtual Home Tour
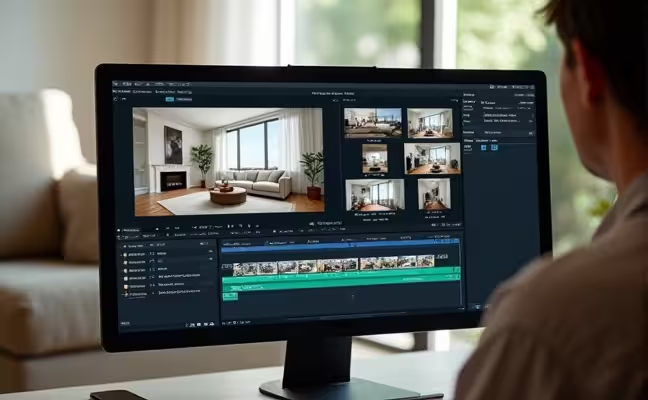
Once you've captured all your footage and recorded your narration, it's time to bring everything together through editing. This step is crucial in creating a polished, professional-looking virtual home tour.
Choose Editing Software
There are many video editing software options available, ranging from free tools like iMovie or Windows Movie Maker to professional-grade software like Adobe Premiere Pro. Choose one that matches your skill level and the complexity of your project.
Cut Unnecessary Footage
Review your footage and cut out any parts that are blurry, shaky, or don't add value to your tour. Remember, it's better to have a shorter, high-quality tour than a longer one with subpar sections.
Add Smooth Transitions
Use transitions between rooms to create a seamless flow throughout your tour. Simple cuts or fade transitions often work best, as they don't distract from the content of your tour.
Incorporate Additional Elements
Consider adding extra elements to enhance your virtual home tour:
- Background music: Choose something subtle that won't overpower your narration
- Text overlays: Use these to highlight key features or provide additional information
- Graphics: Simple graphics can help illustrate before-and-after comparisons or explain complex renovation details
Sync Narration
If you're adding a voice-over, make sure it's perfectly synced with your video footage. Adjust the timing as needed to ensure your words match the visuals.
8. Sharing Your Virtual Home Tour
With your virtual home tour complete, it's time to share it with the world. Here's how to effectively distribute your tour:
Optimize for Search
If you're uploading your tour to a platform like YouTube, make sure to optimize your title, description, and tags with relevant keywords. This will help people find your virtual home renovation tour when searching online. Some key phrases to include might be:
- Virtual home tour
- Renovated home tour
- Home renovation showcase
- [Your City] home renovation
Share on Social Media
Post your virtual tour on all your social media platforms. Encourage friends and followers to share it as well, increasing your reach. If you're selling your home, ask your real estate agent to share the tour on their professional networks.
Email Direct Links
Send the link to your virtual tour directly to interested parties. This could include potential buyers, family members, or contest judges if you're entering a renovation competition.
9. Gathering Feedback on Your Virtual Tour
After sharing your virtual home tour, it's important to gather feedback from viewers. This can provide valuable insights for future tours or help you make improvements to your current one. Here are some ways to collect feedback:
Enable Comments
If you've posted your tour on a platform that allows comments, encourage viewers to leave their thoughts. Ask specific questions about what they liked or what they'd like to see more of.
Create a Survey
For more structured feedback, create a short survey using a tool like Google Forms. Send this to people who've viewed your tour, asking about aspects like video quality, tour flow, and the effectiveness of your narration.
Ask for Personal Opinions
Reach out to friends, family, or colleagues who've watched your tour and ask for their honest opinions. Sometimes, direct conversations can yield the most valuable feedback.
10. Updating Your Virtual Home Tour
If you make significant changes to your home after creating your initial virtual tour, it's a good idea to update it. This ensures that viewers always have the most accurate representation of your renovated home. Here's when and how to update your tour:
When to Update
- After completing additional renovations
- If you've made changes to your home's decor or layout
- When seasons change, especially if your tour includes outdoor areas
How to Update
You don't necessarily need to recreate your entire tour. Instead, you can:
- Film new segments to replace outdated ones
- Add new sections to showcase recent changes
- Re-record your narration to include information about new renovations
Remember to update your tour's title, description, and tags to reflect any new content you've added.
Conclusion
Creating a virtual tour of your renovated home is an exciting way to showcase your hard work and share your beautiful space with others. By following this comprehensive guide, you'll be well-equipped to plan, create, and share a stunning virtual home tour that highlights all your amazing renovation improvements.
As someone who's gone through the renovation process myself, I know how challenging it can be to find the right professionals for your project. That's why I'm excited about simpleHome, a platform that connects homeowners with local renovation experts. Whether you're planning your next renovation or looking for professionals to help create your virtual tour, simpleHome can help you find the right people for the job.
So, are you ready to start planning your virtual home renovation tour? With these tips and tricks, you'll be creating a professional-quality tour in no time. Happy filming!